
The Krups Coffee Grinder is a versatile electric mill designed to deliver precise grinding for optimal coffee flavor. With 17 grind settings and a cup selector, it ensures the perfect amount for every brew; Known for durability and performance, it helps coffee enthusiasts achieve professional results at home. This manual will guide you through its features, operation, and maintenance to enhance your coffee experience.
1.1 Overview of the Krups Coffee Grinder
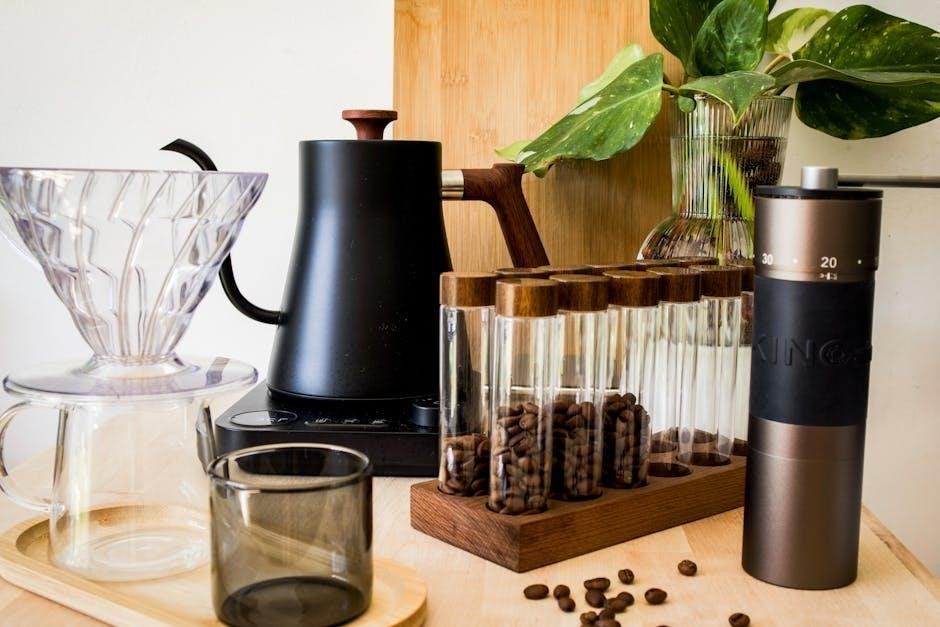
The Krups Coffee Grinder is a high-quality electric grinder designed to enhance your coffee experience; It features 17 grind settings, allowing you to customize the texture from fine to coarse, perfect for various brewing methods. Equipped with a cup selector, it ensures you grind the exact amount needed for your coffee. Known for its durability and precision, this grinder delivers consistent results. Its compact design and user-friendly interface make it easy to operate and integrate into any kitchen. Whether you’re grinding coffee beans, spices, or nuts, the Krups Coffee Grinder offers versatility and reliability, making it a essential tool for coffee enthusiasts seeking professional-grade results at home.
1.2 Importance of the User Manual
The user manual is essential for maximizing the performance and longevity of your Krups Coffee Grinder. It provides detailed step-by-step instructions for safe operation, maintenance, and troubleshooting. By following the manual, you can ensure optimal grinding results and prevent damage to the machine. The manual also outlines safety precautions to protect you and the device, such as keeping hands and utensils away from moving parts. Additionally, it offers guidance on adjusting grind settings, using the cup selector, and maintaining cleanliness. Referencing the manual helps you understand the grinder’s features and resolve common issues quickly. Digital versions are available online if the physical copy is misplaced, ensuring you always have access to vital information for your Krups Coffee Grinder.
Safety Precautions
Always keep hands and utensils away from moving parts. Ensure the grinder is placed on a stable surface and unplugged when not in use. Follow the manual’s guidelines to avoid accidents and ensure safe operation.
2.1 General Safety Guidelines
For safe operation, always read the user manual thoroughly. Keep hands and utensils away from moving parts to avoid injury. Place the grinder on a stable, flat surface to prevent tipping. Ensure the grinder is unplugged when not in use or during cleaning. Avoid overloading the bean hopper, as this can cause jamming or uneven grinding. Never insert foreign objects into the grinder, as this may damage the machine or cause harm. Keep the grinder out of reach of children and pets. Regularly inspect the power cord and plug for damage. If damaged, do not use the grinder and contact Krups customer support. Always follow the manufacturer’s instructions for assembly, operation, and maintenance to ensure safe and effective use.
2.2 Handling the Grinder Safely
When handling the Krups Coffee Grinder, always ensure the grinder is placed on a stable, flat surface to prevent accidental tipping. Keep your hands and utensils away from moving parts, such as the blades, to avoid injury. Ensure the coffee bean hopper lid is securely closed before operating to prevent beans from spilling. Avoid touching the grinder’s motor or blades, as they may be hot during or after use. Never handle the grinder with wet hands or place it near water sources to reduce the risk of electrical shock. Always unplug the grinder before cleaning or maintaining it. Follow the user manual instructions for proper handling to ensure safe and efficient operation. Proper handling will extend the life of your grinder and ensure optimal performance.
Parts and Components
The Krups Coffee Grinder features a bean hopper, grinding blades, control panel, and ground coffee container. Each component is designed for precise grinding and easy operation, ensuring optimal performance and durability. The bean hopper holds coffee beans, while the blades grind them to your desired consistency. The control panel allows you to select grind settings and cup size. The ground coffee container collects the grounds neatly. Understanding these components is essential for effective use and maintenance of your grinder. Refer to the user manual for detailed descriptions and diagrams of each part.
3.1 Main Components of the Grinder
The Krups Coffee Grinder is composed of several key components designed for optimal performance. The bean hopper holds the coffee beans securely, while the grinding blades ensure precise grinding. The control panel features buttons for selecting grind settings and cup size. A ground coffee container is provided to collect the grounds neatly. Additional components include a lid for the bean hopper and a tray for the ground coffee container. These parts work together to deliver consistent results. The grinder also includes a power cord for easy operation and a base that provides stability during use. Understanding these components is essential for proper assembly, operation, and maintenance. Refer to the user manual for detailed diagrams and descriptions of each part.
3.2 Understanding the Control Panel
The control panel of the Krups Coffee Grinder is designed for intuitive operation. It features a grind setting selector with up to 17 options, allowing you to choose the perfect coarseness for your brewing method. A cup selector lets you specify the number of cups, ensuring the exact amount of coffee is ground. Additional buttons control the grinding process, with clear indicators for power and functionality. The panel is typically equipped with an on/off switch and a grind button for initiating the process. Some models may include a timer or memory function for repeated settings. Understanding the control panel ensures you can fully utilize the grinder’s capabilities and customize your coffee experience. Refer to the user manual for detailed instructions on each button and feature.

Assembly and Initial Setup
Unpack the grinder carefully and place it on a stable, flat surface. Ensure all components are included and properly aligned. Plug in the grinder and prepare for first use by following the manual’s setup guide.
4.1 Unpacking the Grinder
Begin by carefully unpacking the Krups Coffee Grinder from its box. Ensure all components, including the grinding chamber, hopper, and power cord, are included. Inspect the grinder for any visible damage and handle it with care to avoid scratches or dents. Place the grinder on a stable, flat surface, ensuring good ventilation. Plug in the grinder and familiarize yourself with its controls and features. Before first use, review the user manual to understand the assembly and setup process. This step ensures proper installation and prepares the grinder for safe and efficient operation. Proper unpacking and initial placement are crucial for maintaining the grinder’s performance and longevity.
4.2 Placing the Grinder on a Stable Surface
Position the Krups Coffee Grinder on a flat, stable surface to ensure optimal performance and safety. Avoid placing it on uneven or wobbly surfaces, as this may cause vibrations or instability during operation. Choose a location away from the edge of the countertop to prevent accidental tipping. Ensure the surface is clean and dry to avoid any moisture-related issues. Additionally, place the grinder near a power outlet to avoid using extension cords, which can pose a tripping hazard. Proper grounding of the appliance is essential for safety, so ensure it is plugged directly into a grounded electrical outlet. By securing the grinder on a stable surface, you ensure smooth operation and minimize the risk of accidents or damage to the device.
Operating the Coffee Grinder
Plug the grinder into a grounded electrical outlet for safe operation. Use the cup selector to choose the desired amount and adjust the grind setting based on your brewing method. Ensure the lid is securely closed before starting. Press the start button to begin grinding. The grinder will automatically stop once the selected amount is reached. Always unplug the device after use and allow it to cool before cleaning or storing.
5.1 Step-by-Step Grinding Process
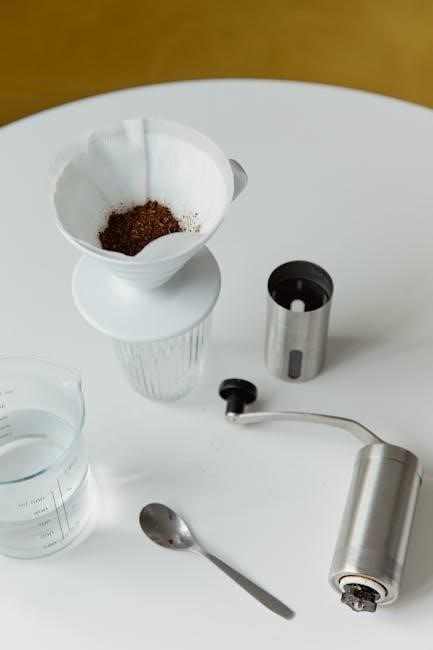
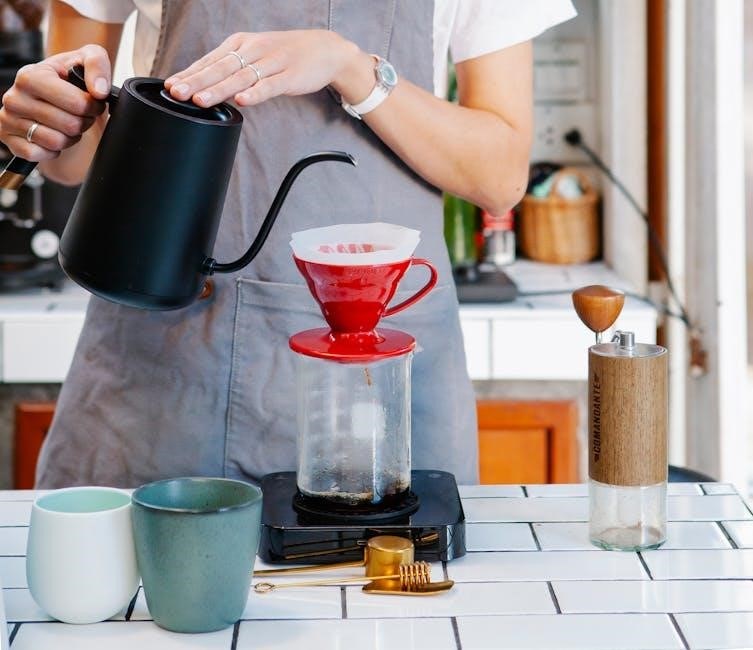
To begin, ensure the grinder is placed on a stable, flat surface and plugged into a grounded electrical outlet. Remove any leftover grounds from previous use. Open the hopper lid and add the desired amount of coffee beans. Close the lid securely to ensure proper operation. Use the cup selector to choose the number of cups you wish to grind. Adjust the grind size dial based on your brewing method—fine for espresso, medium for drip coffee, or coarse for French press. Place the ground coffee container under the spout. Press the start button to initiate grinding. The grinder will automatically stop once the selected amount is reached; For consistent results, avoid overfilling the hopper and clean the grinder regularly after use.
5.2 Selecting the Right Grind Setting
Selecting the appropriate grind setting is crucial for achieving the perfect brew. The Krups Coffee Grinder features 17 adjustable settings, allowing you to customize the grind from fine to coarse. For espresso, a fine grind is ideal, while drip coffee requires a medium setting. Coarse grinds are best for French press or cold brew. Use the grind size dial to adjust the setting based on your brewing method. Ensure the setting aligns with the coffee maker you plan to use. Proper grind size ensures even extraction and optimal flavor. Experiment with different settings to find your preferred consistency. Remember, the grind size significantly impacts the taste, so take time to fine-tune it for your favorite brewing technique.
5.3 Using the Cup Selector
The cup selector on your Krups Coffee Grinder allows you to precisely control the amount of coffee ground, ensuring the perfect quantity for your brew. To use it, locate the selector dial, typically found on the side or top of the grinder. Choose the number of cups you wish to prepare, ranging from 1 to 12, depending on your model. Once selected, the grinder will automatically adjust the grinding time to deliver the exact amount needed. This feature ensures consistency and prevents waste. For smaller or larger batches, simply adjust the selector to match your requirements; Always ensure the selector is set correctly before grinding to achieve the best results for your coffee. This convenient feature streamlines the brewing process, making it easy to customize your coffee experience.
Grinding Coffee Beans
The Krups Coffee Grinder offers precise control with 17 grind settings, accommodating various brewing methods. Simply add beans, select your grind size, and let the grinder ensure the perfect amount for your brew.

6.1 Adding Coffee Beans to the Hopper
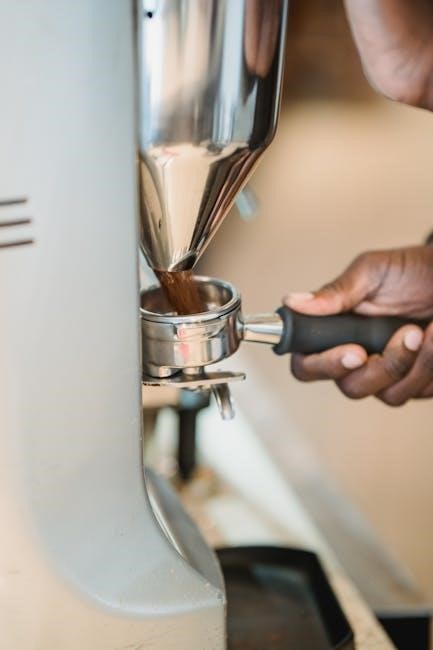
To begin, ensure the grinder is turned off and place it on a stable surface. Open the hopper lid by lifting it upward. Pour fresh coffee beans into the hopper, taking care not to exceed the maximum capacity marked on the side. Avoid overfilling, as this can disrupt the grinding process. Gently close the lid to secure the beans and ensure it clicks into place. Make sure the lid is tightly sealed to prevent any beans from spilling during operation. Properly loading the hopper ensures consistent grinding and optimal flavor extraction. Always use high-quality, fresh beans for the best results; This step is crucial for achieving the perfect grind and brew.
6.2 Adjusting the Grind Size
Adjusting the grind size on your Krups Coffee Grinder is straightforward and essential for achieving the perfect brew. Locate the grind setting control, typically a dial or button, and turn it clockwise for a finer grind or counterclockwise for a coarser grind. Choose from 17 settings to match your brewing method, such as espresso, drip coffee, or French press. For espresso, a fine grind is ideal, while French press requires a coarse grind. Experiment with settings to find your preferred consistency. Ensure the grinder is turned off before adjusting to avoid any accidental operation. Proper grind size ensures optimal extraction and flavor. Always refer to the user manual for specific guidance on your model’s grind adjustment mechanism.
6.3 Ensuring Proper Bean Flow
To ensure proper bean flow in your Krups Coffee Grinder, start by filling the hopper with the recommended amount of beans. Avoid overfilling, as this can obstruct the flow and lead to uneven grinding. Use freshly roasted beans for optimal performance, as stale beans may not flow smoothly. If beans stick or clump, gently shake the grinder or clean the hopper. Regularly cleaning the grinder’s internal parts and ensuring the grind size is correctly set will also help maintain consistent bean flow. Proper bean flow is crucial for achieving uniform grind size and preventing clogs. Always refer to the user manual for specific guidelines on bean capacity and flow optimization for your model.

Cleaning and Maintenance
Regular cleaning prevents residual coffee oils and grounds from affecting flavor. Use a soft brush to remove loose grounds and wipe surfaces with a damp cloth. Deep clean periodically with a mixture of water and vinegar, then descale if necessary. Proper maintenance ensures optimal performance and longevity of your Krups Coffee Grinder.
7.1 Daily Cleaning Routine
A daily cleaning routine is essential to maintain the performance and hygiene of your Krups Coffee Grinder. Start by turning off and unplugging the device for safety. Remove the ground coffee holder and wash it with warm, soapy water, then rinse and dry thoroughly. Use a soft, dry cloth to wipe down the exterior, paying attention to any areas with visible coffee residue or dust buildup. For the bean hopper and grinding chamber, use a small, clean brush to remove loose grounds. Avoid using harsh chemicals or abrasive materials, as they may damage the surfaces. Regular daily cleaning prevents old coffee oils from affecting the flavor of your freshly ground beans and ensures consistent grinding results.
7.2 Deep Cleaning the Grinder
For a thorough deep clean, disassemble the grinder’s removable parts, such as the bean hopper, grinding chamber, and burrs. Wash these components with warm, soapy water, then rinse and dry thoroughly. Use a small, dry brush or cleaning tool to remove any stubborn coffee residue or oil buildup from the burrs and internal surfaces. Reassemble the grinder and grind a small amount of rice or a cleaning tablet to absorb any lingering residue. Finally, wipe down all parts with a clean, dry cloth and ensure everything is properly aligned before use. Regular deep cleaning prevents the accumulation of old coffee oils and ensures consistent grinding performance. Always refer to the user manual for specific deep cleaning instructions tailored to your model.
7.3 Descale the Grinder (if applicable)
If your Krups coffee grinder has a water tank or is used in areas with hard water, regular descaling is essential to prevent mineral buildup. Use a descaling solution or vinegar by running it through the grinder as you would water. Follow the manufacturer’s instructions for the recommended descaling frequency, typically every 2-3 months in hard water areas. After descaling, rinse thoroughly by running clean water through the grinder to remove any residue. Failure to descale can lead to clogs, reduced performance, or damage to the machine. Always refer to your specific model’s user manual for detailed descaling instructions, as some models may have unique requirements. Regular descaling ensures optimal functionality and extends the lifespan of your grinder.

Troubleshooting Common Issues
This section addresses common problems like the grinder not turning on, uneven grinds, or jamming. Follow the steps to identify and resolve issues efficiently, ensuring optimal performance.
8.1 Grinder Not Turning On
If the grinder fails to turn on, first ensure it is properly plugged into a functioning power outlet. Verify that the power button is pressed correctly and that no safety features are engaged. Check for any blockages or obstructions in the grinder’s components, as these can prevent operation. Ensure all parts, such as the hopper and ground coffee container, are correctly assembled and aligned. If issues persist, refer to the troubleshooting section of the user manual or contact Krups customer support for assistance. Always follow safety guidelines to avoid electrical hazards. This step-by-step approach helps resolve the issue efficiently.
8.2 Uneven or Inconsistent Grind
An uneven or inconsistent grind can occur due to improper bean flow or incorrect grind settings. Ensure the grinder is placed on a stable surface and the coffee beans are evenly distributed in the hopper. Clean the grinding burrs regularly, as residue can affect performance. Adjust the grind setting to match your brewing method, ensuring it is not too fine or coarse. If the issue persists, check for blockages in the grind chamber or chute. Properly aligning the ground coffee container and ensuring it is securely locked can also resolve inconsistencies. For optimal results, avoid overfilling the hopper and grind in small batches if necessary. Regular maintenance and calibration will help maintain consistent grinding performance.
8.3 Jamming or Clogging Issues
Jamming or clogging in the Krups Coffee Grinder can occur due to blockages in the grinding chamber or chute. To resolve this, turn off the grinder and unplug it for safety. Carefully remove any visible debris or coffee grounds from the chute and burrs using a soft brush or cloth. Avoid using water, as it may damage the electrical components. Ensure the grinder is completely dry before restarting. Check for obstructions in the bean hopper or ground coffee container and clean them thoroughly. If the issue persists, descale the grinder if applicable, as mineral buildup can cause clogs. Regularly cleaning the grinder and ensuring proper bean flow will help prevent jamming. For severe clogs, refer to the troubleshooting section in the user manual for further guidance.

Additional Tips and Resources
Store coffee beans in a cool, dark place to preserve flavor. Access the full user manual online for detailed guides. Contact Krups customer support for assistance.
9.1 Optimal Coffee Bean Storage
Proper storage is crucial to preserve the flavor and aroma of your coffee beans. Store them in an airtight container in a cool, dark place to protect from light and moisture. Avoid keeping beans near heat sources or in humid environments, as this can cause degradation. Freezing is a good option for long-term storage, but ensure the beans are in a sealed container to prevent freezer odors. Grind beans just before brewing for the freshest taste. Regularly cleaning your grinder prevents old coffee oils from affecting new beans. Proper storage ensures your Krups Coffee Grinder consistently delivers the best flavor.
9.2 Accessing the Full User Manual Online
To access the full user manual for your Krups Coffee Grinder, visit the official Krups website or trusted platforms like ManualsNet. These resources offer downloadable PDF versions of the manual, ensuring you have comprehensive guidance at your fingertips. The online manual provides detailed instructions, troubleshooting tips, and maintenance advice. It is searchable, making it easy to find specific information quickly. For models like the Krups GVX2 or Expert GVX242, manuals are readily available online. Always verify the source to ensure you download the correct manual for your specific grinder model. Having the manual handy allows you to explore advanced features and maintain your grinder effectively for lasting performance.
9.3 Contacting Krups Customer Support
For any inquiries or issues with your Krups Coffee Grinder, contacting customer support is straightforward. Visit the official Krups website at krupsusa.com and navigate to the “Support” section. Here, you can find contact information, including phone numbers, email addresses, and live chat options. Additionally, the website offers FAQs and troubleshooting guides for common issues. For model-specific assistance, such as the GVX2 or Expert GVX242, refer to the support page dedicated to your grinder. When reaching out, ensure you have your product details ready to expedite the process. Krups customer support is available to address concerns, provide repair options, and ensure your grinder performs optimally. Utilize this resource to resolve any issues promptly and maintain your grinder’s longevity.
The Krups Coffee Grinder offers optimal grinding, durability, and ease of use, enhancing your coffee experience. Refer to the manual for maintenance and support details.
10.1 Final Thoughts on Using the Krups Coffee Grinder
The Krups Coffee Grinder is a reliable and versatile tool for coffee enthusiasts, offering precise control over grind size and quantity. Its durable design ensures long-lasting performance, while the 17 grind settings and cup selector provide flexibility for various brewing methods. Regular cleaning and maintenance, as outlined in the user manual, are key to preserving its functionality. For any issues, Krups customer support and online resources are readily available. By following the guidelines and exploring its features, you can elevate your coffee experience. Experiment with different settings to find your perfect brew, and enjoy the convenience and quality that the Krups Coffee Grinder brings to your daily routine.
Leave a Reply